I know a lot about a lot of things–but I’ll say right now that yard work isn’t my area of expertise.
I don’t much like yard work or gardening. Stuff like this is just too boring because preparing soil and planting seeds seems like just hard work with not much THINKING involved–guess I just prefer the intellectual pursuits, if I have a choice. Consequentially, you can imagine how much yard work gets done around my house. Basically, if there’s anything else I can make a priority over the yard work, that’s what I do.

Because the yard work is always last on my to-do list, my grass has gotten more and more patchy for the ten years I’ve lived in my house. Then last summer, a drought hit Southern Maryland and things really got out of control. I discovered that I had more weeds than grass. And when a semi-strong gust of wind would come along, a cloud of dirt would rise up from my yard because there simply wasn’t enough vegetation to hold the dirt in place.
Desperate to correct the problem but not having much time to deal with it, I bought a big bag of grass seed and started throwing it around the yard, focusing on the bare spots. No soil preparation, no fertilizer, nothing. And that’s exactly what grew–nothing.
This year, I was determined for things to be different. So last week–the first week of May–I went to my local home improvement store. Since I had so many weeds, I intended to pick up some deweeding chemical to use on the lawn before putting down any fresh seed. But then I found out that you must wait 3 WEEKS after putting down the deweeding chemical before planting new seed. And I just didn’t have that much time to wait, if the grass was to have any time to grow.
My Solution for Growing Grass Fast
First, I picked up a few tools and materials:
 1. Thatching Rake

This tool has a strip of strong, curved metal sprongs lining a head, all attached to a long wooden handle. Thatchers are meant for raking up the dead grass and other vegetation that may be matted down in your lawn–the stuff that keep the grass seed from reaching the soil.
2. Aerator
This tool allows you to dig little holes down into the earth with minimal effort. These holes then allow air and water to get down into the soil, which helps the grass seed and new grass shoots to grow faster–and stronger.
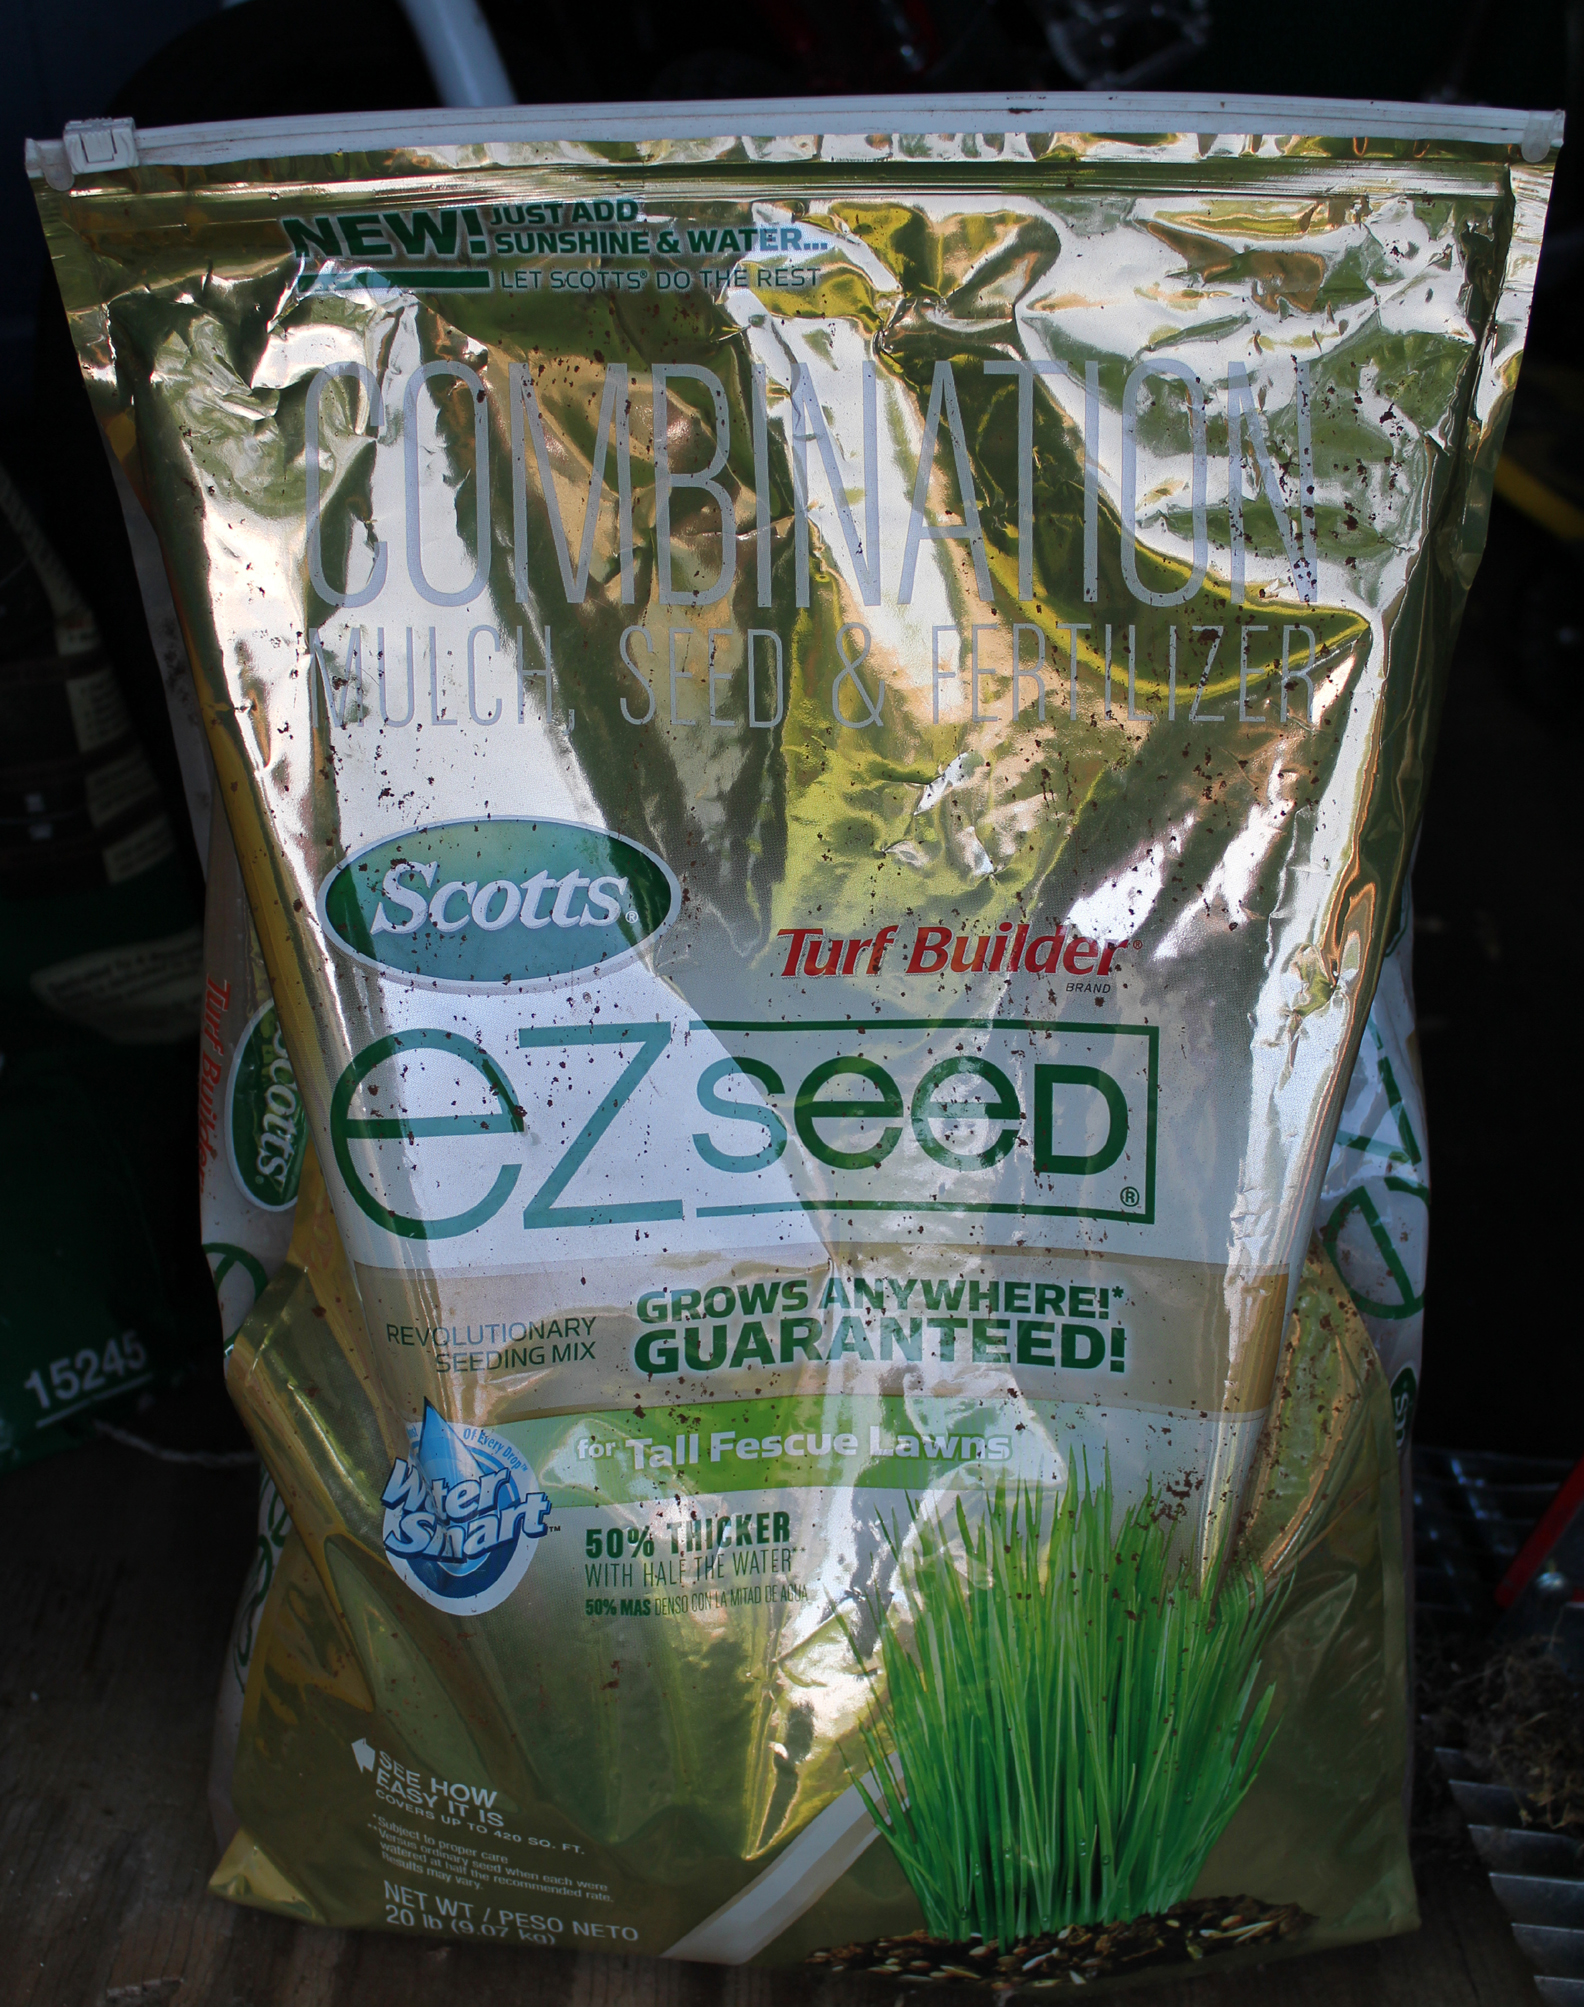
3. Large Bag of Scotts EZ Seed Grass Mix
This stuff contains a mixture of premium seed, mulch, and fertilizers, and is guaranteed to grow–or Scotts will refund your money.
4. Large Bag of Regular Grass Seed
I thought the EZ-Seed looked a little low in actual grass seed content, so I bought an extra large bag of plain grass seed–just for good measure. (I probably could have just shaken the EZ-Seed bag up a bit, and it would have been fine. But a bit of extra seed wouldn’t hurt, I figured.)
How I Got the Seed to Grow Quickly
Using the thatching rake, I scraped up last season’s dead grass that I had been allowing to mulch into the lawn. I also tore through massive numbers of weeds–which in the case of my lawn, had very shallow roots that could be torn up relatively easy. This took a bit of work, but not nearly as much as if I had tried to pull the weeds up by hand.
I didn’t worry about getting all the weeds–just as many as possible. I’ll throw down some deweeding chemical several weeks from now to get more of them–a few weeks before fall arrives and it’s time to put down more seed.
(You will notice from the photo of the thatching tool head that I bent a couple of the thatching rake’s sprongs…I guess some of those weeds were a bit stubborn and I had to “break bad” on them.)
As I managed to clear patches of soil. I had my son walk around behind me and use the aerator on the cleared areas.
Then, my son and I put on gardening gloves and got to work sprinkling the Scott’s EZ-Seed. We tried to sprinkle it to the recommended depth of one eighth of an inch, but the application turned out to be a little tricky because it was a windy day. We solved this problem by not releasing the grass mixture from too great a height where the wind would catch more of it and blow it around.
The EZ-Seed in place, we then sprinkled plain grass seed liberally on top.
According to the directions on the bag of EZ-Seed, you’re supposed to wait until the planting mixture has turned dark brown, then give it a good water. It took about 20 minutes for the mixture to turn the appropriate color. When I finally watered it, I was careful that the water sprinkled down gently to avoid displacing the seed mixture.

I watered the seeds once per day, in the evening, for the next two days. On the fourth day, I started seeing tiny grass sprouts. By day seven, the newly growing grass was about two inches tall–just as it appears in the photo at the top of this post.
What Made the Difference
It’s hard to separate one aspect of this job from another, in terms of what ultimately brought about its success. I give a lot of credit to the Scott’s EZ-Seed–because when I just used plain seed last year, not one bit of it grew. I also give a lot of credit to the thatching rake, because the seed would have had nowhere to land and grow if I hadn’t been able to get those weeds out of the way. And of course, the regular watering was vital.
I only wish I had had the time and energy to seed the whole yard at once. As it is, I’ve only planted a couple of patches of new grass. But I figure it’s better than nothing. That’s how us working gals (and guys) have to do it sometimes. You do what you can, when you can.
You just need to make some kind of start. Because starting a project–especially one that seems insurmountable–is the most difficult part of all.